OSM Tile Server - Ubuntu 16.04

This page exists to document the process I went through when setting up a tile server for OpenStreetMap data. During the process, I found the Manually building a tile server page over at switch2osm.org very helpful, and it serves as a basis for this guide.
There are a few reasons you may want to set up your own tileserver: first, you may want to create or tweak map styles to create your own unique tileset; or, you may have an application that makes heavy use of mapping features and does not qualify for free use of the OSM tile servers.
It should be noted that the process described below will not allow you to perform geocoding with the imported data. Geocoding is the process of converting an address or place name to coordinates on the globe (or vice-versa in the case of "reverse" geocoding). For this, you'll want to check out the Nominatim installation instructions over at the OSM wiki. It also relies on the osm2pgsql tool, but the data is indexed and stored differently. With both the Nominatim and Mapnik datasets, you'll be able to perform searching, geocoding, and tile rendering without relying on external sources.
Recommended hardware
- 8GB of RAM (recommended 64GB+)
- 4+ CPU threads is recommended
- 600GB+ of free local storage for full planet import (SSD or other high-speed storage recommended)
- 64-bit architecture (x86_64/amd64)
A full planet import on minimal hardware can take 8 to 14 days to complete. For a dedicated server with SSDs and a lot of RAM, this can be reduced to less than a day with optimal settings. Check out Hetzner or OVH to pick up well-spec'd a server for cheap.
Prerequisites
We're going to need a whole bunch of stuff to get started. Thankfully, the packages in the xenial repos are recent, so we can install Mapnik 3 and friends via the package manager.
We'll also need PostgreSQL with PostGIS support. The commands below will set up Postgres 9.5 and PostGIS 2, as well as various supporting libraries that we may need for compilation of mod_tile and renderd.
apt-get update
apt-get install libboost-all-dev screen subversion git unzip wget bzip2 build-essential autoconf libtool libxml2-dev libgeos-dev libgeos++-dev libpq-dev libbz2-dev libproj-dev libprotobuf-c0-dev protobuf-c-compiler libfreetype6-dev libpng12-dev libtiff4-dev libicu-dev libgdal-dev libcairo-dev libcairomm-1.0-dev apache2 apache2-dev libagg-dev liblua5.2-dev ttf-unifont lua5.1 liblua5.1-dev libgeotiff-epsg postgresql-9.5 postgresql-9.5-postgis-2.2 postgresql-9.5-postgis-scripts libpq-dev libmapnik3.0 libmapnik-dev mapnik-utils mapnik-reference mapnik-doc python-mapnik python3-mapnik node-carto osm2pgsql
mod_tile + renderd
mod_tile is a DSO module for Apache 2. It allows the user to define location(s) to serve tiles from (such as a /tiles/ URI in one of your VirtualHosts). It works in tandem with renderd, which utilizes the Mapnik library to do the actual rendering. Rendered tiles are then cached (either to disk, memcached, or Ceph) and used for subsequent requests until they expire.
Installation
We'll need to compile mod_tile & renderd ourselves, but it's an easy build. Below are the instructions for cloning the repo into /opt/src, but another directory can be used. The steps below assume you are running as root.
mkdir -p /opt/src
cd /opt/src
git clone https://github.com/openstreetmap/mod_tile.git
cd mod_tile
./autogen.sh
./configure --prefix=/usr
make -j`nproc` && make install && make install-mod_tile
cp /opt/src/mod_tile/debian/renderd.init /etc/init.d/renderd
chmod +x /etc/init.d/renderd
Configuration
First, we need to point renderd to our config file.
echo 'DAEMON_ARGS="-c /usr/etc/renderd.conf"' > /etc/default/renderd
Then open the configuration file (/usr/etc/renderd.conf) and make any necessary changes for your setup. Below are the changes I made:
[renderd]
num_threads=8
tile_dir=/var/lib/mod_tile
...

[default]
URI=/tiles/
TILEDIR=/var/lib/mod_tile
XML=/opt/maps/style/OSMBright/OSMBright.xml
HOST=localhost
Finally, to enable renderd to start when your machine boots, run the following:
systemctl enable renderd
Postgres
Configuration
Open the main configuration file. For PostgreSQL 9.5 on Ubuntu 16.04, this is located at /etc/postgresql/9.5/main/postgresql.conf. Below are settings that I have adjusted for my machine with 256GB of RAM and 40 cores. These settings have provided the best performance for me, and between 24GB to 32GB of cache seems to be sweet spot, if the benchmarks on the OSM wiki are anything to go by. These settings should be adjusted depending on the amount of RAM available and number of CPU threads in your machine.
max_connections = 200
shared_buffers = 128MB
maintenance_work_mem = 4GB
max_worker_processes = 16
effective_cache_size = 24GB
autovacuum = off
The above configuration is for import only. Once you've successfully completed an import of OSM data into Postgres, the above parameters can be reverted to their defaults. At the very least, autovacuum should be turned back on, as it's responsible for reclaiming deleted objects, and helps to ensure your tables are optimal (unless you're doing manual VACUUM'ing).
For more examples, as well as other parameters you may want to tweak, check out the osm2pgsql/Benchmarks page on the OSM wiki.
User setup
First, open a Postgres shell as the superuser (postgres)
sudo -u postgres psql
Next, create our osm user that will be used by renderd.
CREATE ROLE osm WITH login PASSWORD 'supersecret';
If you'll be running the import as the root user, you can use the following to grant root with superuser privs, just like the postgres user:
CREATE ROLE root WITH login superuser;
Creating the OSM database
With the root role created as a superuser, you can authenticate with peer authentication (Postgres authenticates you via the UID the process is running as) and connect via local rather than via tcp, which will help speed up the import. Using peer authentication also means you don't need to provide a password or username.
At the Postgres prompt, run the following to create a new osm database with UTF-8 encoding, owned by the osm user, and enable the PostGIS and hstore extensions.
The hstore extension is available in PostgreSQL 9.x, and is optional. It allows storing attributes as a hash/dictionary for fields that do not have corresponding dedicated columns. More info: https://www.postgresql.org/docs/9.0/static/hstore.html
CREATE DATABASE osm WITH OWNER osm ENCODING 'UTF-8' TEMPLATE template0;
\c osm
CREATE EXTENSION hstore;
CREATE EXTENSION postgis;
ALTER TABLE geometry_columns OWNER TO osm;
ALTER TABLE spatial_ref_sys OWNER TO osm;
If the import aborts or fails, I would recommend DROP'ing your existing database before trying again. In my experience, it seemed like osm2pgsql was not removing the existing data, but this may also be due to autovacuum being disabled.
To drop your existing database:
DROP DATABASE osm;
Then the creation commands above can be re-run to recreate your database.
osm2pgsql
Now it's time to import some data. Depending on your hardware, this can take anywhere between 8 hours and a couple weeks.
The --slim import process is divided into two phases: phase one is reading all of the nodes, ways, and relations, then caching & indexing them in temporary tables in Postgres; phase two is assembling the actual GIS tables that are used by Mapnik to render map tiles.
During the first phase, speed is primarily dependent upon your disk speed and amount of RAM available, as well as the type of file being imported (XML/bz2 or PBF). PBF is considerably faster, and there is no initial delay before node processing starts. Using a flat node cache also considerably speeds up the node processing if you have an SSD (creates a ~33GB file).
The second phase is more CPU-intensive, and depends upon the number of processes that are assigned via --number-processes.
Important note: If
--number-processesis increased beyond 10, you will need to increase themax_connectionssetting in Postgres to 8x the number of processes. (eg. if--number-processes=16then increasemax_connectionsin postgresql.conf to128, plus some buffer room). Don't forget to restart Postgres after any config changes. Failure to make this change will cause Postgres to reach max connections, and osm2pgsql will fail after the first phase. You don't get those hours/days back...
Obtain OSM data
- Full planet: http://wiki.openstreetmap.org/wiki/Planet.osm
- Regional extracts: http://download.geofabrik.de/
- Metro extracts: https://mapzen.com/data/metro-extracts/
Click one of the links above to download your preferred data source, then choose a mirror close to you to obtain a download link for a planet-latest file, or a regional extract. With the link copied, wget it to your server. Unless you have good reason to do otherwise, you should choose a .pbf file, as the import is considerably faster.
Import OSM data
Assuming you've downloaded your planet file, or a local/regional extract, we can proceed to the import. You'll almost certainly want to run this in a screen or with tmux. There is no resume support, so if osm2pgsql crashes, or you lose connection, or you accidentally hit Ctrl+C... then you'll have to start the process all over again.
First, create a screen (or tmux session):
screen -S osm_import
Change to the directory that you want to run the import from, then adjust the parameters in the command below to suit your needs.
--hstore- Enable hstore usage--slim- Enable slim mode-r pbf- Use PBF parser; do not use for bz2/xml imports-C 32000- Cache size in MiB (approx 32GB in this case). If you have sufficient RAM, use between 20GB and 32GB. Otherwise, use 60% of your available memory--flat-nodes node.cache- Flat node cache; this is a ~33GB file on disk; using this option drastically speeds up node processing phase; should only be used with SSDs--number-processes 16- Number of helper processes to spawn during the second phase-d osm- Use the osm Postgres database-U root- Use the root Postgres userplanet-latest.osm.pbf- Source file
If you're using md5 authentication with Postgres, you can also specify the -H option for Postgres hostname, and then set the PGPASS env var with your Postgres user's password (eg. export PGPASS="supersecret"). In this example, we're using peer authentication with a local (UNIX socket) connection, so that's not required.
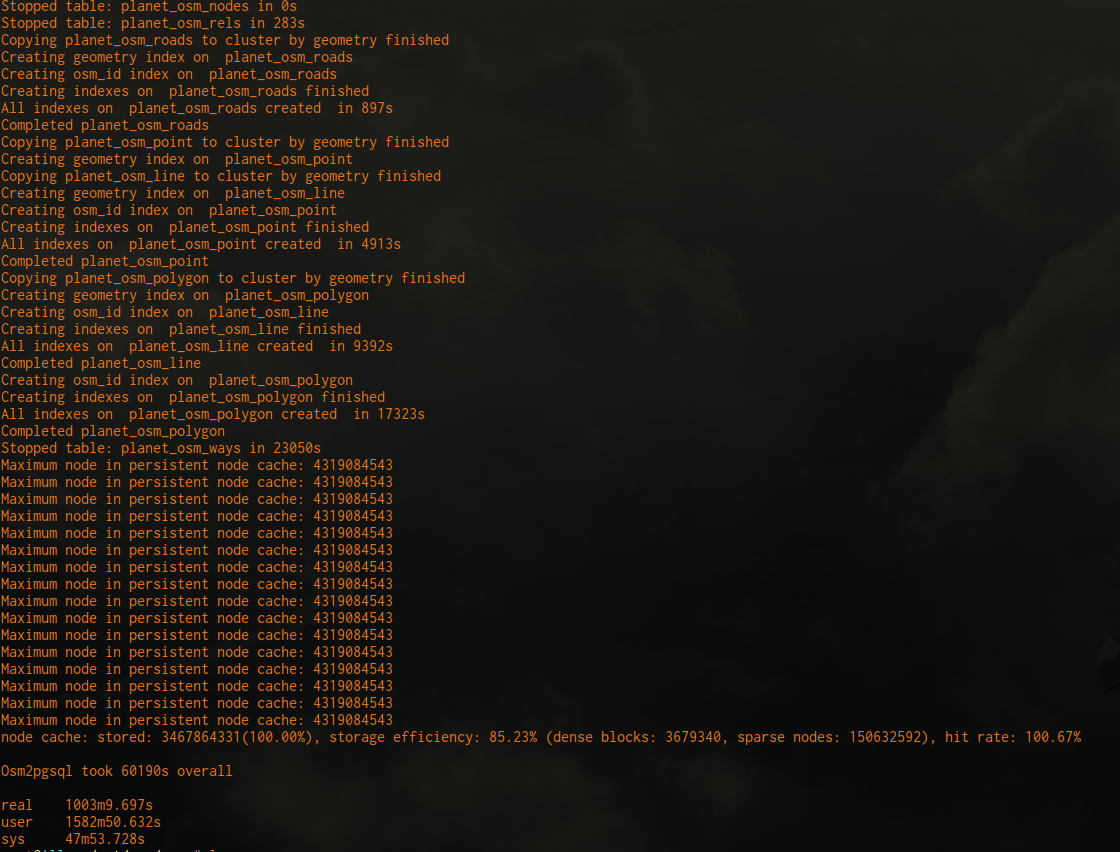
osm2pgsql --hstore --slim -r pbf -C 32000 --flat-nodes node.cache --number-processes 16 -d osm -U root planet-latest.osm.pbf
If using screen, you can use Ctrl+A then d to detach from your session, then screen -r osm_import to re-attach.
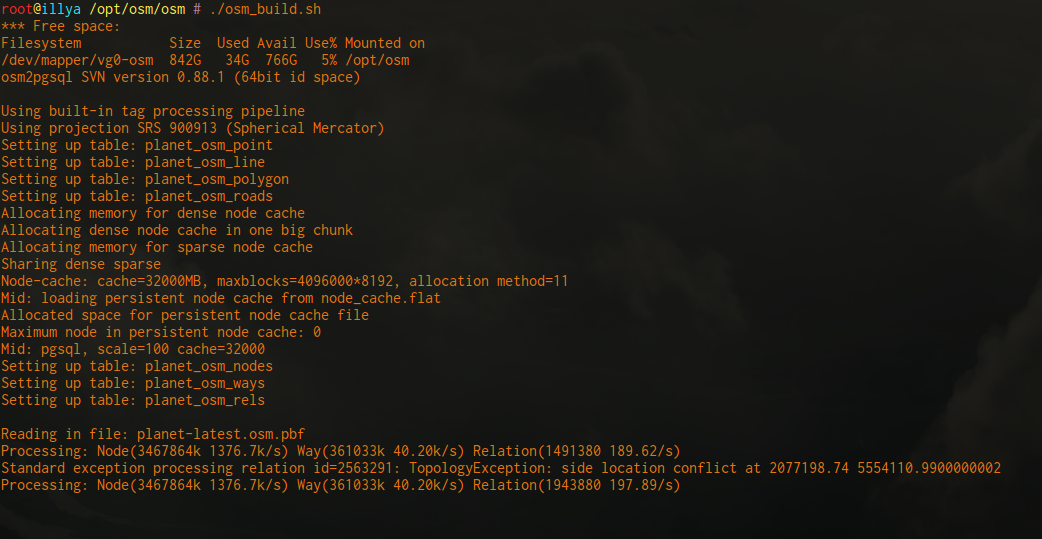
Run-time results
Machine:
- 2x Xeon E5-2670v2 2.50GHz Ivy Bridge (total 20 cores/40 threads)
- 256GB DDR3 RAM (16 x 16GB ECC Reg. Buffered)
- 2x Intel DC 480GB SSDs (SSDSC2BB480G6), using LVM+ext4
- Linux kernel 4.4.0-31-generic
- Using osm2pgsql & Postgres settings described in this doc
Full planet import: 16.7 hours
Virginia, US State extract import: 3 minutes, 12 seconds