Running HipChat Server on KVM/libvirt
A few months ago, I picked up a starter license for HipChat Server out of curiosity. As I use a few other Atlassian products, such as JIRA and Bitbucket Server (aka Stash), I figured it would be distributed similar to their other applications (a self-extracting script). However, HipChat is distributed as an OVA package (Open Virtual Appliance). The file itself is just a tarball containing a few vmdk (VMware) disk images, a checksum file, and an XML description of the contents.
If you're using VirtualBox or VMware, the OVA package can be opened without a problem, and the XML description provides all of the necessary information to create a pretty interface and construct a compliant virtual machine. However, if you're using Xen or KVM/QEMU, you'll need to do a bit more work to make this work properly.
Prerequisites
This guide assumes you have a working knowledge of how to create virtual machines with libvirt, currently have a working host with an LVM2 or QEMU storage pool, and a bridged network configuration.
This guide was written using a Debian 8 host, but can be easily adapted as needed. Most of the commands herein should be run as root, or via sudo.
First, ensure required tools are installed via your package manager (example for Debian-based distros):
apt-get install qemu-utils jq
Retrieve current OVA archive, then extract it with tar:
wget https://hipchat-server-stable.s3.amazonaws.com/HipChat.ova
tar -xvf HipChat.ova
Depending on the type of storage pools you have configured (if any), only one of the following two sections should be performed. If you don't have any storage pools configured, use the QCOW2 section.
LVM2 Storage
If using LVM2 as a backing store, create a new LVM logical volume for each disk image (change the name and volume as necessary).
lvcreate -L$(qemu-img info --output=json system.vmdk | jq '.["virtual-size"]')b -n hipchat-system vg0
lvcreate -L$(qemu-img info --output=json file_store.vmdk | jq '.["virtual-size"]')b -n hipchat-store vg1
lvcreate -L$(qemu-img info --output=json chat_history.vmdk | jq '.["virtual-size"]')b -n hipchat-history vg1
Next, extract the contents from the vmdk images to the new LVM volumes (be sure to update the paths to match your own):
qemu-img convert -np -O raw system.vmdk /dev/vg0/hipchat-system
qemu-img convert -np -O raw file_store.vmdk /dev/vg1/hipchat-store
qemu-img convert -np -O raw chat_history.vmdk /dev/vg1/hipchat-history
QCOW2 Storage
If you are using QCOW2 images instead of LVM2 as your virtual machines' backing store, then a simple conversion should suffice:
qemu-img convert -O qcow2 system.vmdk hipchat-system.qcow2
qemu-img convert -O qcow2 file_store.vmdk hipchat-store.qcow2
qemu-img convert -O qcow2 chat_history.vmdk hipchat-history.qcow2
Create VM Config
Below is an example of the disk configuration for LVM2. Click here for a full example, including Spice console access.
It should be noted that it doesn't really matter which target devices are associated with the disks, as all partitions on the system image are mounted via UUID, and the other volumes are part of an LVM2 pool that has been pre-configured on the system image.
    <disk type='block' device='disk'>
      <driver name='qemu' type='raw'/>
      <source dev='/dev/vg0/hipchat-system'/>
      <backingStore/>
      <target dev='vda' bus='virtio'/>
      <boot order='1'/>
      <alias name='system'/>
      <address type='pci' domain='0x0000' bus='0x00' slot='0x04' function='0x0'/>
    </disk>
    <disk type='block' device='disk'>
      <driver name='qemu' type='raw'/>
      <source dev='/dev/vg1/hipchat-store'/>
      <backingStore/>
      <target dev='vdb' bus='virtio'/>
      <alias name='file_store'/>
      <address type='pci' domain='0x0000' bus='0x00' slot='0x05' function='0x0'/>
    </disk>
    <disk type='block' device='disk'>
      <driver name='qemu' type='raw'/>
      <source dev='/dev/vg1/hipchat-history'/>
      <backingStore/>
      <target dev='vdc' bus='virtio'/>
      <alias name='chat_history'/>
      <address type='pci' domain='0x0000' bus='0x00' slot='0x06' function='0x0'/>
    </disk>
Network Config
If your network does not use DHCP, then you will want to ensure that the VM is configured with a Spice or VNC console.
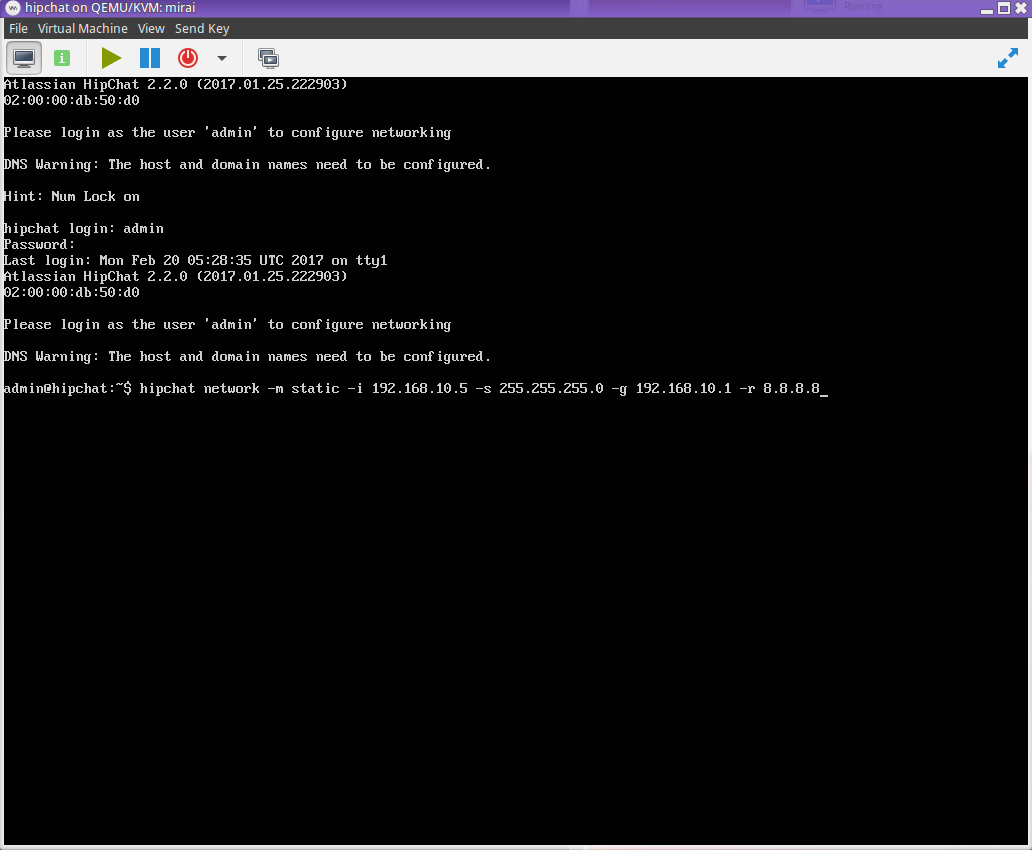
On initial startup, you will need to login to the VM with the username admin and password hipchat. Once logged in, you will be able to set a static IP address, and configure the hostname. Once this has been done, you can complete the setup by accessing the web interface via its IP address or hostname you have assigned it (assuming the DNS entry has been added on your DNS server).
Static Routes
Unfortunately, my network configuration requires adding an additional route to allow traffic to be passed to the gateway (eg. with OVH). See this article on how to accomplish this so that your changes are not obliterated the next time Chef runs: How to force network configurations and routes.
Create a file at /home/admin/startup_scripts/static_routes (file below shows example for a server at OVH):
#!/bin/bash
/usr/sbin/sudo /bin/dont-blame-hipchat -c "/sbin/route add 149.56.21.254 dev eth0"
/usr/sbin/sudo /bin/dont-blame-hipchat -c "/sbin/route add default gw 149.56.21.254"
Then ensure it's executable:
chmod +x /home/admin/startup_scripts/static_routes
You can then run the script to immediately add the routes, or reboot the VM if you want to be extra-sure it works.
Complete Setup
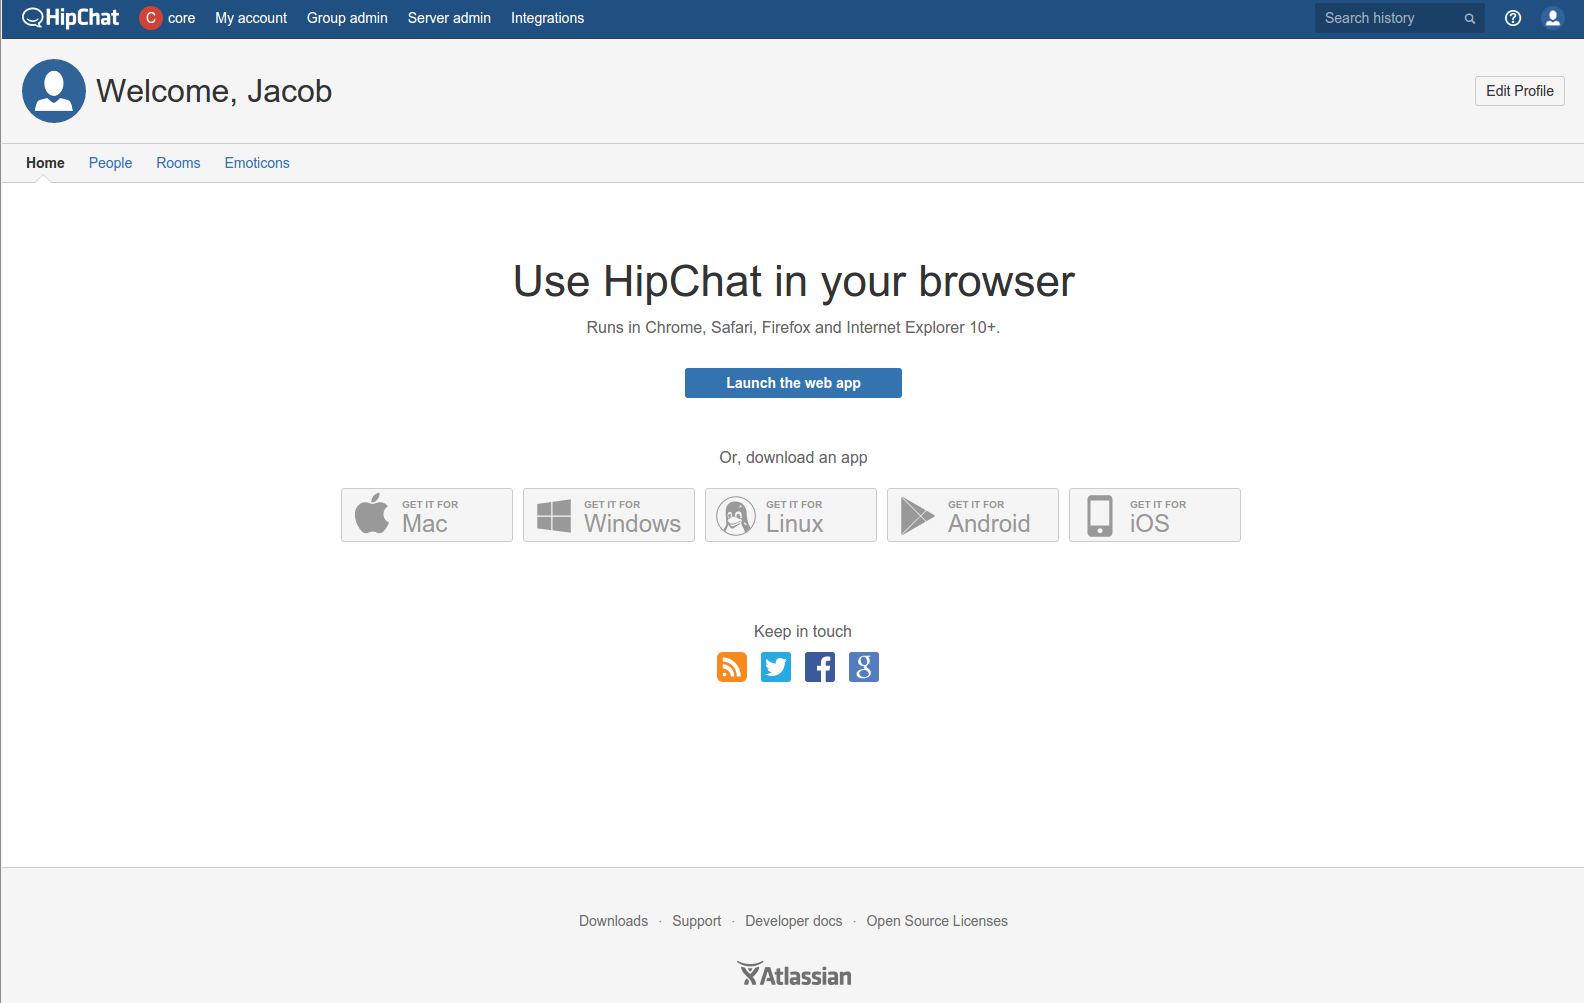
Once networking has been configured and your machine is reachable from the Internet, complete the setup by visiting the IP or hostname of your new HipChat server in a web browser.