Xen to KVM Node Migration
linux / virtualization / kvm / xen / libvirt

Converting Xen 4.4 guest domains to run under KVM
I've been using Xen 4.4 with the XL (XenLite) toolchain for the past 18 months or so, and it has worked very reliably during that time. However, my biggest issue with the XL toolchain is that the support from third-party applications for monitoring, provisioning, and deployment is very slim. I wrote my own crude automated provisioning tool, xlctl, for this reason. I suppose this lack of support is why most folks choose to use XAPI/XCP (XenServer), as this toolchain is widely supported by various third-party tools, and allows you to use Citrix's GUI management tool, and other nice tools, like the web-based Xen Orchestra, or even Microsoft's Virtual Machine Manager (SCVMM).
Conversion to KVM
Luckily, I already have libvirtd installed and running, and am using it to manage my Xen domains (unfortunately for me, many libvirt applications will only work with the KVM or QEMU backends). Because I've already converted my native Xen configuration files over to XML (to use with libvirt), most of my configuration is already done, save for a bit of tweaking to define additional values needed by KVM.
For storage, I am using LVM2 volumes, distributed among 2 primary storage pools (vg0 for SSD-based storage, vg1 for spinny-disk storage), as well as additional img and iso pools for VM images and installation ISOs.
root@mirai ~ # virsh pool-list --all
 Name                 State      Autostart
-------------------------------------------
 img                  active     yes
 iso                  active     yes
 vg0                  active     yes
 vg1                  active     yes
Domain conversion
Conversion of LVs to partitioned volumes
When using xenpv (paravirtualization), one could simply use PyGrub to boot directly from a supplied kernel on a filesystem. This bypasses all of the normal bootstrapping shenanigans that are typically required. However, with KVM, this is not possible. For this reason, we need to ensure that our volumes have a valid partition label (eg. MSDOS or GPT). If you partitioned your Xen domain logical volumes, then you can skip this step (lucky for you).
- Rename your existing LV with a
-oldsuffix
lvrename /dev/vg1/xr1-disk xr1-disk-old
- Create a new LV of the same size
lvcreate -L30G -n xr1-disk vg1
Use
fdisk,gdisk,partedor whatever to partition the new LV. Assuming there will be only a single filesystem, creating one primary partition should be fine. Make sure to set the boot flag! You may need to runpartprobeafterwards to force the kernel to load the new partition table.Ensure that the device mapper creates a mapping for your new LV partitions by using
kpartx
kpartx -al /dev/vg1/xr1-disk
- At this point, you can either format the filesystem and copy the files with
rsync, or shrink the old filesystem by a couple megabytes and copy the entire filesystem withdd. The rsync option is likely going to be less error-prone and complete much faster, but theddmethod will provide you with an exact copy of the previous filesystem state.
Option A: mkfs + rsync
- To create a new filesystem (eg.
ext4), use the following, making sure to double-check how your new partitions were mapped
mkfs.ext4 /dev/mapper/vg1-xr1--disk1
- Ensure that both the source and destination filesytems are mounted. I like to create a
/mnt2for this purpose, which will contain our source (original) filesystem, and/mntwill contain our target (new) filesystem.
mkdir /mnt2
mount /dev/vg1/xr1-disk-old /mnt2
mount /dev/mapper/vg1-xr1--disk1 /mnt
- Perform the rsync. The chosen options will preserve all permissions, attributes, xattribs, ownership, times, and so on.
--statsand--progressare optional, but provide some feedback about what's happening. Make sure to retain the trailing forward-slash (/) on both the source and destination.
rsync --stats --progress -aAXv --exclude={"/dev/*","/proc/*","/sys/*","/tmp/*","/run/*","/mnt/*","/media/*","/lost+found"} /mnt2/ /mnt/
- Ensure that everything was copied over correctly, then we can unmount the old filesystem. Once you've successfully booted the domain (later), you may then want to remove it via
lvremove
umount /mnt2
We will keep /mnt mounted (the new filesystem), since it will be needed later.
Option B: resize2fs + dd
This method assumes an Extended-type filesystem (ext2/3/4)
- First, determine the extents of the new partition. We do this by running
fdiskagainst the new LV
fdisk -l /dev/vg1/xr1-disk
In the output, take note of the number of sectors. Example:
Disk /dev/vg1/xr1-disk: 30 GiB, 32212254720 bytes, 62914560 sectors
Units: sectors of 1 * 512 = 512 bytes
Sector size (logical/physical): 512 bytes / 512 bytes
I/O size (minimum/optimal): 512 bytes / 512 bytes
Disklabel type: dos
Disk identifier: 0xa49e92bb

Device             Boot Start      End  Sectors Size Id Type
/dev/vg1/xr1-disk1       2048 62914559 62912512  30G 83 Linux
In this example: 62912512 sectors, with a sector size of 512 bytes = 32211206144 bytes
- Use this information to resize your existing filesystem via
resize2fs. Be sure to take a backup BEFORE doing this if the filesystem contains any crucial data. That being said, I've never had an issue whereresize2fshas borked my filesystem when shrinking. You must ensure the filesystem is not mounted before proceeding.
umount /dev/vg1/xr1-disk-old
e2fsck -f /dev/vg1/xr1-disk-old
resize2fs -p /dev/vg1/xr1-disk-old 62912512s
The s unit denotes 512-byte sectors.
- If all went well, your filesystem should now be slightly smaller (note that the LV will remain the same size). Now take the block size output by resize2fs, and this will be used as our count value in dd. resize2fs will specify blocks in terms of 4KiB chunks, so if your version of resize2fs does not output this data, then multiply your sectors by 512 (bytes per sector) and divide by 4096 (number of bytes per block) to arrive at a block count (62912512 * 512 / 4096 = 7864064 4KiB blocks).
dd count=7864064 bs=4K if=/dev/vg1/xr1-disk-old of=/dev/mapper/vg1-xr1--disk1
4K is always going to be the smallest size you'll need to ensure an exact transfer (4KiB = 1 block). However, if your filesystem happens to be evenly-divisible by a higher value, then you can use that instead to speed things up (just be sure to adjust the count accordingly).
- And to finish things up, run a fsck to ensure everything is intact
e2fsck -f /dev/mapper/vg1-xr1--disk1
Mount guest disk(s)
First, we need to enter each domain via SSH or console when running -- or if your guest is stopped or the host machine is already running without a Xen hypervisor, you can mount the disk for each domain and perform the conversion in a chrooted environment.
Example of setting up a chrooted environment for one of the guest domains (this domain's disk is an LVM2 logical volume):
mount /dev/vg1/xr1-disk /mnt
mount --bind /dev /mnt/dev
mount --bind /proc /mnt/proc
chroot /mnt
Update fstab
Be sure to change any reference from /dev/xvda1 to /dev/vda, so that VirtIO can be utilized for best performance. Example:
/dev/vda1 / ext4 noatime,nodiratime,errors=remount-ro 0 1
Install/Update Kernel
On each guest domain, we need to perform the following setups to configure a kernel and bootloader.
- Install a suitable kernel
For Debian/Ubuntu:
apt-get update
apt-get -y install linux-image-virtual
For CentOS/RedHat:
yum -y install kernel
For ArchLinux:
pacman -S linux
- Ensure any Xen modules added to the initrd are removed. Edit
/etc/mkinitcpio.confand remove any Xen modules from theMODULES=line. Once this is done, run:
mkinitcpio --kernel=$(file /boot/vmlinuz-linux | perl -pe 's/.*version ([^ ]+) .*/$1/')
- Ensure
biosdevname=0 net.ifnames=0is added toGRUB_CMDLINE_LINUX_DEFAULTin/etc/default/grubto use the classic network interface naming scheme (eth0rather thanens3, for example)
All - Ensure VirtIO support in your guest's new kernel:
find /lib/modules/ -name virtio*
If you see various virtio_*.ko kernel modules for the installed kernel version, then the kernel should be good to go.
GRUB2 Setup & Install
- Install GRUB2
apt-get install grub2
GRUB installer may freak out if you're running it chrooted, or doesn't detect a normal configuration, just choose 'Yes' to continue with the installation if prompted.
Serial console
Edit /etc/default/grub with the following to enable serial console for GRUB and kernel messages:
GRUB_CMDLINE_LINUX_DEFAULT="console=tty0 console=ttyS0"
GRUB_TERMINAL="serial console"
(When running grub-mkconfig you may receive a warning about default serial parameters for GRUB_SERIAL_COMMAND-- that's OK)
Note: Some kernels may not output systemd startup messages on the video console if these boot options are used (such as the kernels built for Arch).
Bootloader configuration
First, create a file located at /boot/grub/devices.map (or /mnt/boot/devices.map on the host). This should contain a reference to the host's device (or a loopback) that is used by guest domain. You will have needed to have run kpartx -al on this device so that the partitions are accessible via /dev/mapper (see previous section on LV conversion).
Contents of devices.map:
(hd0) /dev/mapper/vg1-xr1--disk
Once created, we are ready to build the GRUB configuration (still running in the domain itself, or via a chrooted environment). For Ubuntu/Debian:
grub-mkconfig -o /boot/grub/grub.cfg
For CentOS/RedHat:
grub2-mkconfig -o /boot/grub2/grub.cfg
Once complete, be sure to unmount any bind mounts, then unmount the guest domain's disk. This can be done all at once with -R:
umount -R /mnt
Bootloader installation
Unfortunately, I could not determine an easy solution for this, since grub-install is a fucking pain to work with, as far as non-physical disks are concerned. There is probably some better way, but I didn't have time to fuck about any longer.
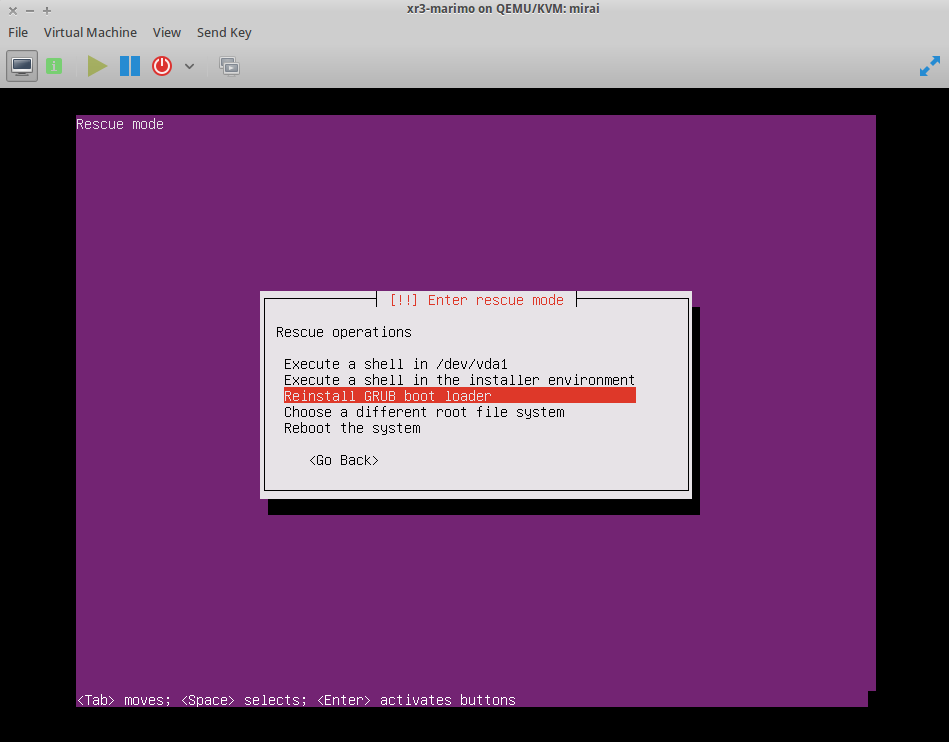
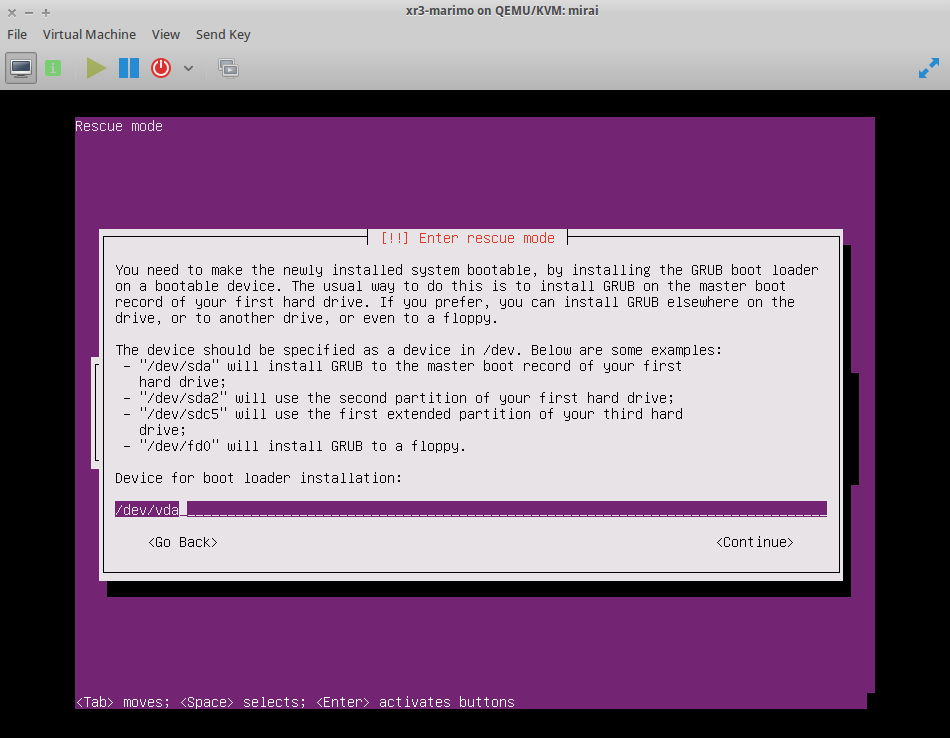
To finish the bootloader installation, boot up into a rescue disk for Ubuntu 16.04 (will work with Ubuntu, Debian, ArchLinux, and CentOS 7 -- these are the ones I've tested). You can skip network configuration, just be sure to select /dev/vda1 as the mounted filesystem, then enter /dev/vda as the Device for boot loader installation. Once installed, change the boot order such that hd is the primary boot device, then restart (might require destroying, then starting the domain after the reboot for boot order change to take effect).
Excerpt from domain's libvirt XML configuration for the boot disk and VNC configuration. This can (and probably should) be disabled once the bootloader is installed.
    <disk type='file' device='cdrom'>
      <driver name='qemu' type='raw'/>
      <source file='/opt/repo/iso/ubuntu-16.04.1-server-amd64.iso'/>
      <target dev='hdc' bus='ide'/>
      <readonly/>
    </disk>
    <input type='mouse' bus='ps2'/>
    <graphics type='vnc' port='-1' autoport='yes' listen='0.0.0.0'/>
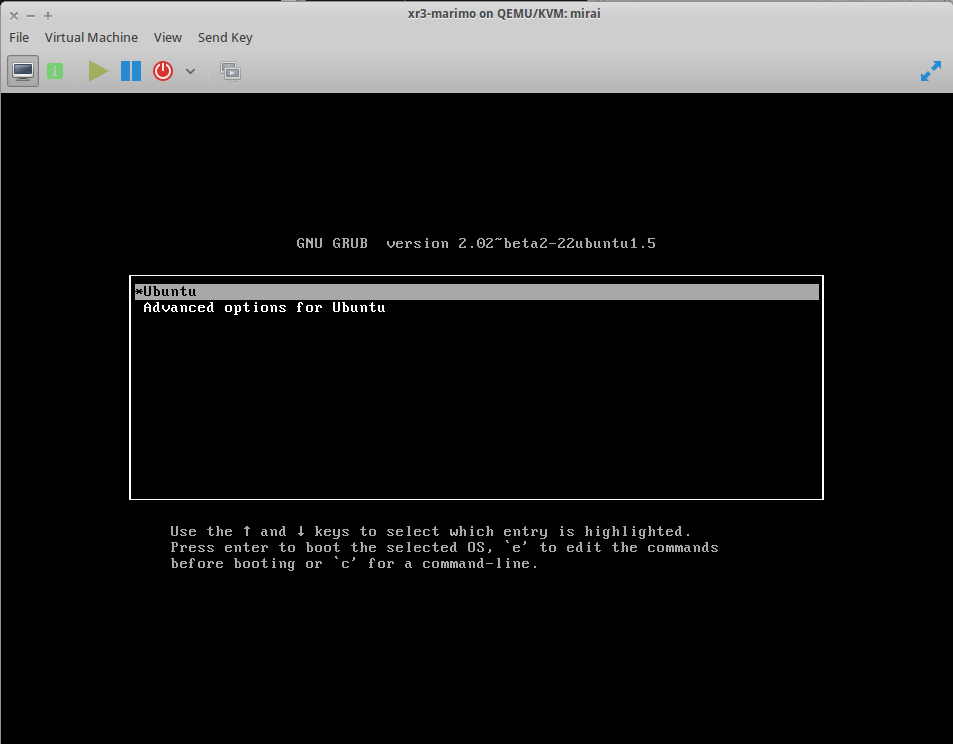
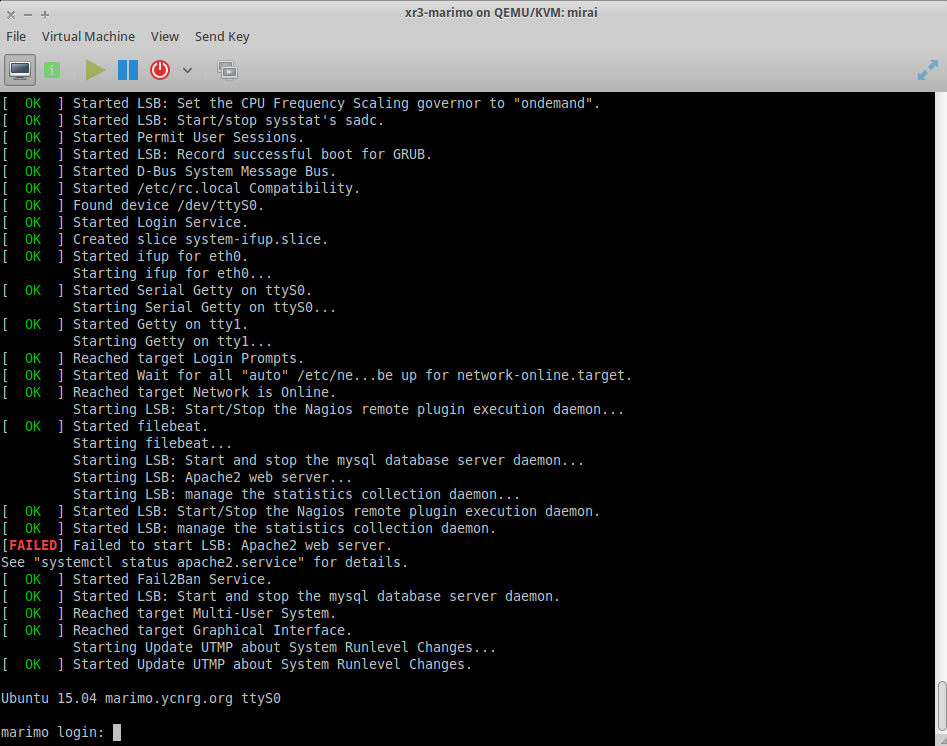
If all went well, you should be able to boot from hd and receive a GRUB menu (both on ttyS0 serial console and VNC, if you left it enabled).